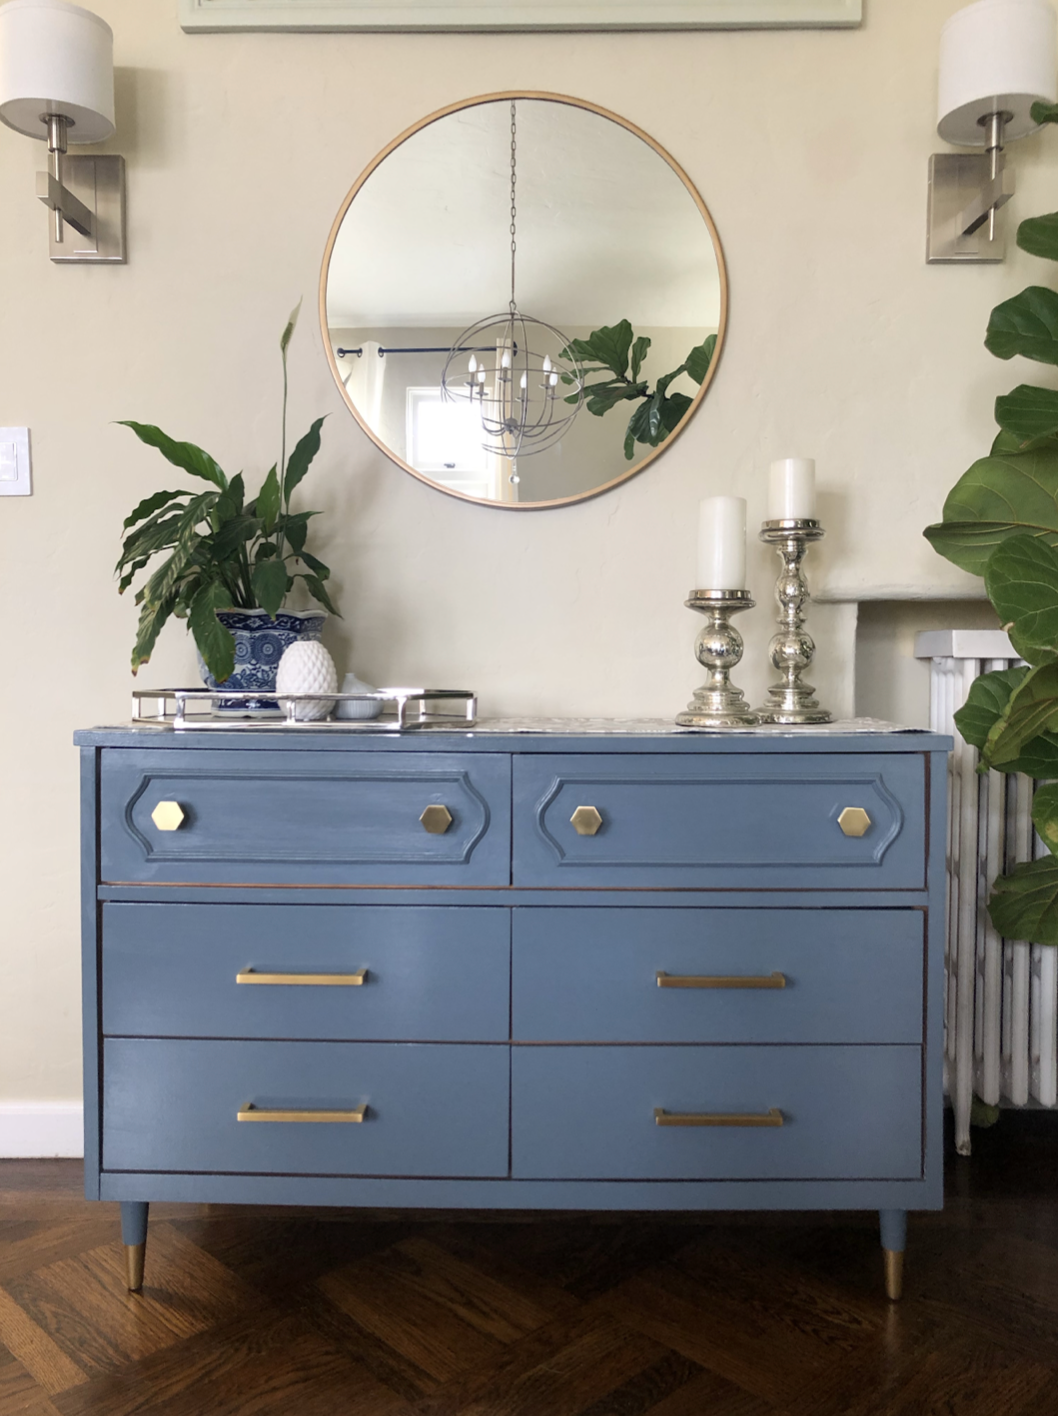
Whether you found it in the “as is” bin at Ikea or it’s been in your family for decades, learning how to paint furniture is one of the most affordables solutions to update the look of a piece.
We’re glad you asked! Not only can you paint Ikea furniture, but painting laminate is actually a less time-consuming process than learning how to paint wood furniture! Since Ikea furniture is typically made from laminate covered particle board, learning how to paint Ikea furniture and learning how to paint laminate furniture are one and the same.
Photo courtesy of Posh Pennies
Before we begin, it’s important to note that while a large majority of the furniture at Ikea is made from laminate wood, not every piece is. To be sure your product is laminate and not solid wood or metal, look for a sticker somewhere on the piece of furniture to see if the product material is listed. If not, you can likely find the furniture listed on Ikea’s website and can check materials there.
Here's what you need:
Laminate or a shellac-based primer
To start, place your piece down on a drop cloth to protect your floors from paint drips or spills. Put on your particle mask to help minimize the amount of dust, particles, primer, or paint fumes you inhale, and try to paint in a well ventilated area.
Remove any hardware, pulls, or knobs you can. To ensure your newly painted piece will not chip or peel, we recommend a light scuff sand with a medium grit sanding sponge. Wipe down your piece with water and a damp cloth to remove any dust, grime, or dirt that may be on it. Let this dry completely before moving on to step 2.
Now that your furniture is clean and dry, you’re ready to prime! Mix your primer and pour it into the paint tray. You won’t need a lot, so it’s best to start with a little, then pour in more if needed.

Photo courtesy of Blue I Style
Because laminate furniture really does not require sanding, you get to skip right over this step and move right onto painting! If, however, you see some imperfections or paint drips you’d like to buff out before you start painting, go for it! A medium grit sanding sponge is best for this situation. When you’re ready to paint, mix and pour your paint into a clean tray.
When painting Ikea furniture, it’s best to do multiple coats, so try not to go overboard on the first coat with too much paint. Paint your piece and allow it to dry completely before moving on to a second or third coat. If there are paint drips you wish to buff out, feel free to do so in between coats, just be sure the paint is completely dry first!

Photo courtesy of a happy Zibra customer!
Now that your laminate furniture is completely painted and dried, you’re ready to add your protective topcoat! Mix and pour your topcoat into a paint tray. Using a foam roller apply your top coat, going over it slowly to prevent bubbles. You can also use a Zibra Top Coat Paintbrush. Let this dry completely and follow the instructions on the topcoat you choose for best results.
Once your top coat is dry and you’re happy with your piece, go ahead and reattach knobs, pulls, and hardware and enjoy your revamped laminate furniture!

Whether you’re a diehard DIYer or a newbie to the furniture painting world Zibra makes it easy to find the inspiration, Paintbrush Kits, and Painting Accessories which you need to master how to paint furniture and all future paint projects. Shop today and discover the Zibra Difference!

Whether you found it in the “as is” bin at Ikea or it’s been in your family for decades, learning how to paint furniture is one of the most affordables solutions to update the look of a piece.

Learning how to properly paint a room can save you time, money, and heartache. Today, we’ll walk you through the basics of how to paint a room for a picture-perfect bedroom you’ll be proud to show off.
| Item | Price | Qty | Total | |
|---|---|---|---|---|
| Subtotal |
$0.00 |
|||
| Shipping | ||||
| Total | ||||