Right next to edging, painting corners has long been the bane of many homeowner’s existence. Fortunately, this doesn’t have to be the case for you. Today, we’ll show you that with the right Paintbrushes, some painter’s tape, and a little patience, you can learn how to paint corners so that any future paint job will be a success.

1. Gather Your Supplies
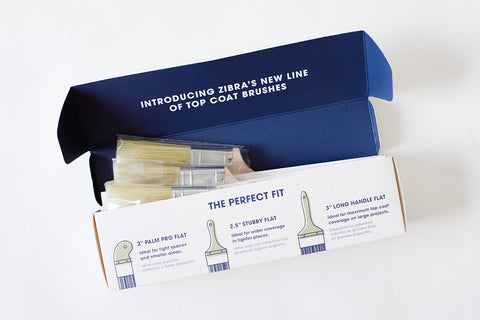
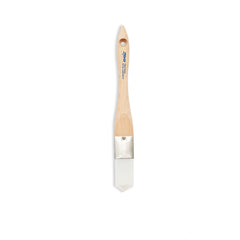
Before you touch that paint, you’ll want to be sure you’ve got the right supplies for painting corners. This includes painting accessories like painter’s tape, rollers, and detail brushes. For instance, the Square Paintbrush is perfect for Painting Windows, trim, and other narrow cornered surfaces.
The Triangle Paintbrush is the best corner paintbrush for painting wall corners and cutting in at wall outlets. If you’re painting a room, save yourself the trouble of finding the best paintbrushes for different applications and get yourself a paintbrush kit that will cover it all.
Before any paint project, we recommend protecting your floors with Drop Cloths. It also helps to wear a Painting Apron so you don’t have to worry about How to Get Paint Out of Clothes later.
2. Cut-In
Regardless of if you’re priming or moving right into the final paint job, the first rule for how to paint corners after prepping the ceiling and trim with painter’s tape is to cut in.
To do this, take your corner paintbrush, dip the first 1/3 of the bristles into the paint, scrape the excess off on the side of the paint can, and evenly distribute the paint to the desired wall corners. The triangle corner paintbrush is perfect for painting a corner that meets an accent wall, or for quickly painting a room you don’t have time to tape.
Work in small, full strokes, brushing outward as you move along or down the wall. You’ll want to be sure to cover the corners well to ensure they have enough paint to blend with the paint you’ll roll onto the wall in step three. Repeat this on each corner until you’re happy with the results.
3. Roll Out
Once you’re done painting corners, it’s time to tackle the rest of the wall surfaces. This will be much faster now that you’ve taken care of the cutting in the corners, and will leave less chance for touch ups later! Slowly roll out the walls starting at an edge and working your way inwards in a zig-zag pattern. This will help you get the best coverage. Don’t worry about getting too close to the corners or edges, since you’ve already sufficiently painted the corners to match the rest of the surface.
Well folks, there you have it. With a few helpful tips and the right paintbrushes in tow, learning how to paint corners like a pro is easy as pie. Not only that, but if you do it right, painting corners could even be relaxing!
Whether you’re just looking to start your own painting business, or you’re simply trying to tackle a DIY home painting project before company arrives, Zibra makes it fast, fun, and affordable to paint like a pro with the very best paintbrushes designed to make your life easier (well, at least the times when you’re painting). Shop Zibra today to find your new favorite paintbrush, or visit the Zibra Blog to learn how to tackle the rest of those home improvement projects you’ve been meaning to tackle!